
This tutorial assumes zero knowledge of HTML and CSS. We adopt a practical approach in all our tutorials, hence, we shall learn by creating a poster using HTML. HTML means Hypertext Markup Language, while CSS means Cascading Style Sheets. HTML and CSS are key programming languages used for building websites. To start learning, you need to download and install an IDE on your computer. There are several IDEs available, in this tutorial, we shall use the one called Visual Studio Code (VS Code)
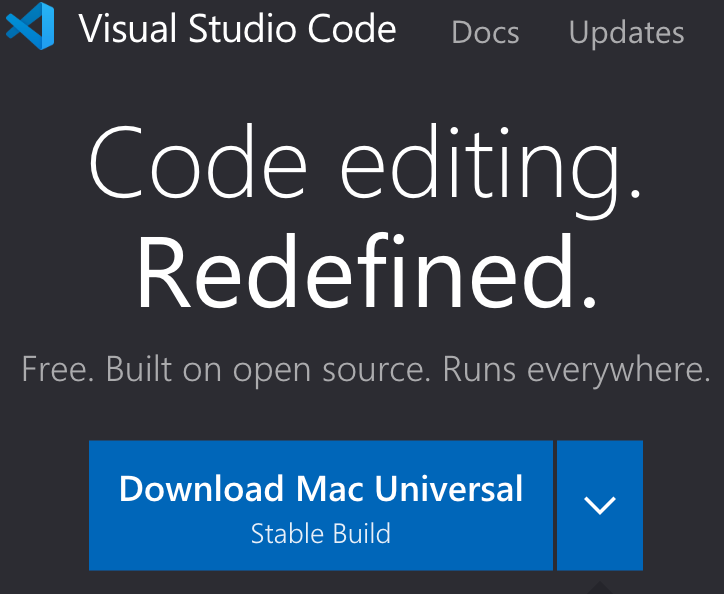
How to download VS Code
Go to google.com
Search for visual studio code

Open the website in the link above, download and install VS Code


Create your first webpage
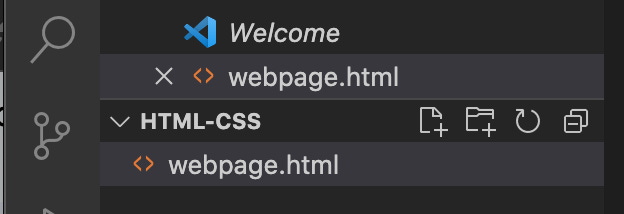
On the desktop, create a folder named HTML-CSS (Note that the folder can be given any name) where the HTML file will be saved,
Open your VS Code, go to File menu and click on open folder, navigate to desktop and open HTML-CSS folder
Go to the explorer section of VS code click on HTML-CSS to make the arrow beside it to face down


Hover your cursor on the first icon to the right side of the HTML-CSS folder, it will indicate new-file, click on the icon to create a new file.
Name the file webpage.html. Note that HTML files names must end in “.html”

To create a pre-formatted HTML document, type “!” on the first line and press the enter key, VS code will auto-complete a standard HTML document for you with all all the basic elements.

Go to the HTML-CSS folder on your desktop, right click on webpage.html file and open the file
You will have a blank webpage opened with the tab named “Document”
Go to VS Code, and change “Document” inside the <title></title> tag to “Poster Designs” and save
Go to the webpage and refresh, the tab name would have changed from “Document” to “Poster Designs”
Note, the <Head> portion of the HTML documents usually contains elements which will not show on the website but controls its behavior. Only the elements written in the body section of an HTML document displays on the webpage when it is opened.
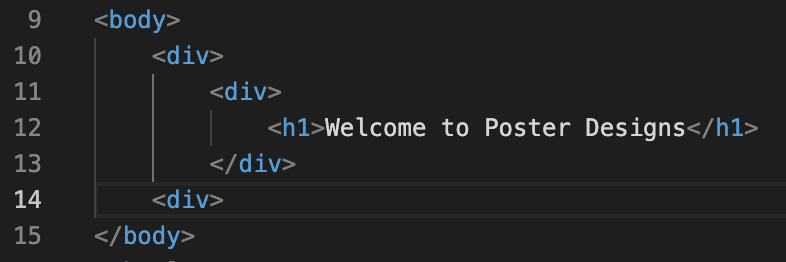
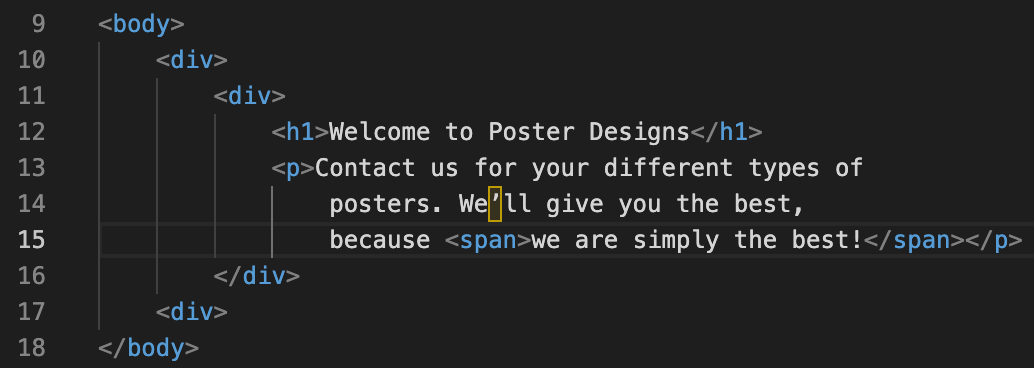
In the body section of the HTML document, type the following code:

Save, then go to the webpage and refresh, you should have the screen below displayed on the webpage.


Note:
A typical webpage is made up of different elements
Most HTML elements have an opening tag, a content and a closing tag. Opening tag is <tag_symbol>, while the closing tag is almost the same except that it has a “/” before the tag_symbol enclosed in “<>” as shown here: </tag_symbol>
<div></div> is an HTML tag that is used as a container to create different sections on the webpage. The importance of <div></div> will be clearer when we discuss CSS in our subsequent tutorials
<h></h> tag is used for creating content headings in a website. You have the options to select between <h1></h1> to <h6></h6 depending on how big and bold you want your header to be.
Change <h1></h1> to <h3></h3> on “Welcome to Poster Designs”
Save the changes on your VS Code
Go to your website and refresh to see the effect of changing from <h1></h1> to <h3></h3>
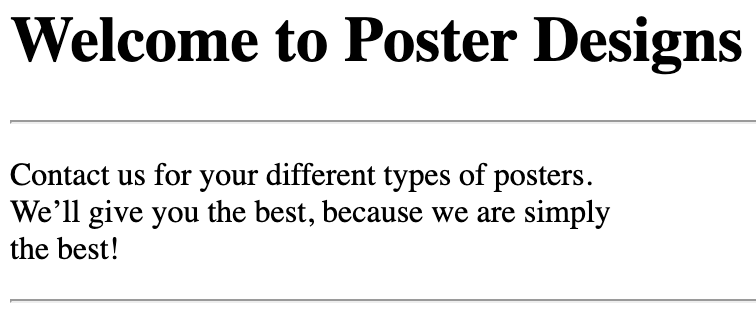
Now add a paragraph to your webpage by updating your code as follows:

Save, then go to the webpage and refresh, you should have the screen below displayed on the webpage.

Note:
<p></p> is an HTML tag that is used for creating paragraphs element in websites
<span></span> is used to create styling within another element, it is an inline container. The usefulness of this element will be appreciated when we discuss CSS
In HTML, spaces created by spacebar or the enter key within or outside an element are ignored. You will observe that our paragraph above was just a single line notwithstanding that the code was broken into 3 lines
<br> tag is used to introduce space. You can enter one or multiple <br> depending on how wide you want the space to be.
Add space to to the paragraph we created in 13 above by adding
<br>tag to your code as follows:
Save, then go to the webpage and refresh, you should have the screen below displayed on the webpage.


Add a horizontal line to your webpage by adding
<hr>tag to your code as shown below.
Save, then go to the webpage and refresh, you should have the screen below displayed on the webpage.

Note:
<hr> tag is used to create horizontal line on the webpage
<br> tag can be placed on a separate line or within the content as we did in 14 above, the effect on the webpage will still remain the same. Check this out by using the enter key to rearrange the paragraph such that the <br>s are placed on a separate line(s)
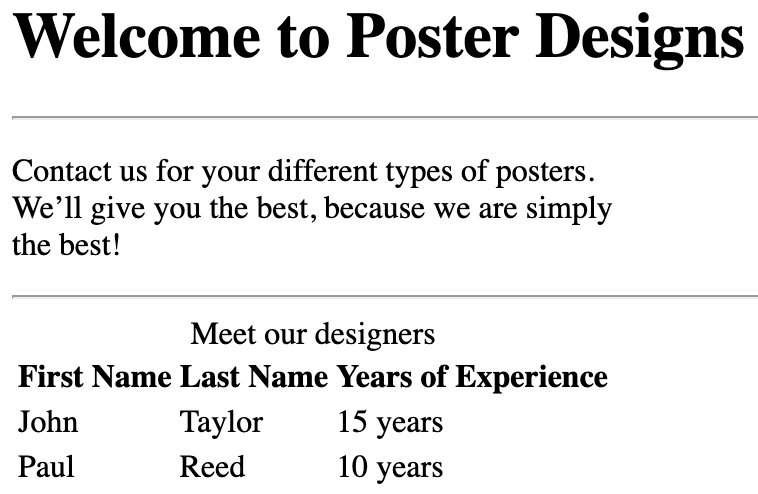
Add a table to your webpage by updating the code as shown below. Note that the new code that was added starts from line 20.

Save, then go to the webpage and refresh, you should have the screen below displayed on the webpage.

Note:
<table></table> tag is used to create table in HTML. Note that the other parts of the table were in between the <table> opening tag and the </table> closing tag
<caption></caption> tag is used to create the table title
Next to <caption> you have the <thead></thead> to create the table header
Then you have <tr></tr> is used to create rows in a table, either in the table head or body
<th></th> is used to create the content (or the data) in the table header cells
<tbody></tbody> is used to create the body of the table
<td></td> is used to create the content (or the data) in the cells of the rows within the body of the table
Add list of items to your webpage by updating your code as shown below. Note that the new code that was added starts from line 44.

Save, then go to the webpage and refresh, you should have the screen below displayed on the webpage.

Note:
<ul></ul> tag is used to create unordered (bullet point) list in HTML
Then <li></li> tag is then used inside the <ul></ul> tag, to create each of the items in the list
You can change the unordered list to an ordered list by substituting <ul></ul> with <ol></ol> tag. Ordered lists will assign numbers or alphabets or roman numerals to your list.
Ordered list by default will assign numbers to your list. However, you can assign alphabet or roman numerals by introducing a “type” attribute and assign a value of your choice (“A”, “a”, “i” or “I”) as shown below. Try it on your IDE
<ol type=”a”>
<li>John</li>
<li>Peter</li>
<li>Caleb</li>
<li>Samuel</li>
</ol>
<img> tag is used to insert image into a website. For <img> tag to work we need to introduce some attributes and their values such as “src”, “alt” and “width”
“src” the value of “src” is the path to the location of the image file we want to display. E.g src=“images/logo_1.jpeg”, in this case the image file named “logo_1.jpeg” is located inside a folder named “images” which is itself located in our project folder named HTML-CSS.
“alt” attribute allows us to provide an option for the HTML to display where the image is no longer available
“width” attribute allows us to control the image size
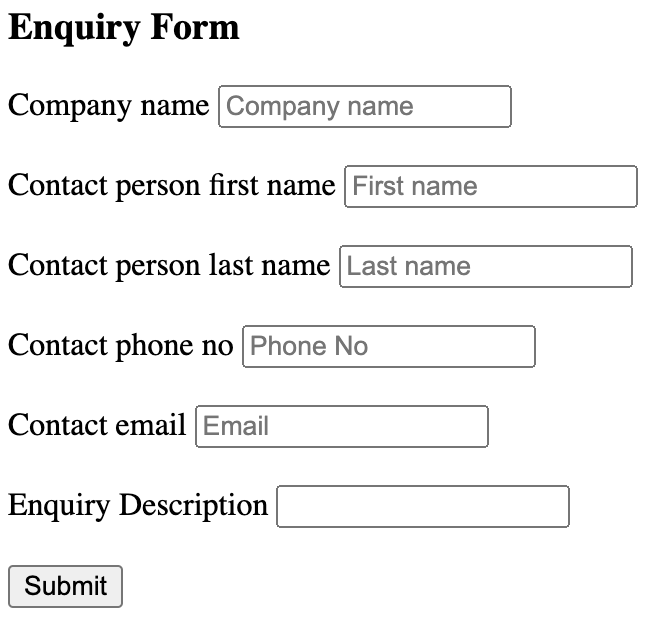
Add user input form to your webpage by updating your code as shown below. Note that the new code that was added starts from line 57.


Save, then go to the webpage and refresh, you should have the screen below added at the bottom of the webpage.
Note:
<form></form> tag is used to create form in HTML
<label></label> and <input></input> tags are then used inside the <form></form> tag to create the body of the form
<label></label> tag is used to create the name for the fields in the form
<input></input> tag with the “type” attribute is used to manage or control the input property in the fields
“placeholder” is used to create a default pseudo input that guides the user on the input type
<input> tag with the “type” attribute value of “submit” is used to create a submit button
If you complete the form and click on “submit” nothing happens, this will be dealt with in one of our future tutorial
Two <br> tags were used to create adequate spacing between the fields
Remove one each from the <br> tags, save your code on the IDE and refresh your webpage to see the effect on the form
Remove all the <br> tags save your code on the IDE and refresh your webpage to see the effect on the form
Remember that you can put the <br> tag on separate line(s) and the effect will still be the same
Conclusion
You would have noticed that HTML and CSS are very easy to learn. In the next tutorial, we shall use CSS to style the webpage we built in this tutorial and also cover more areas of HTML and CSS.